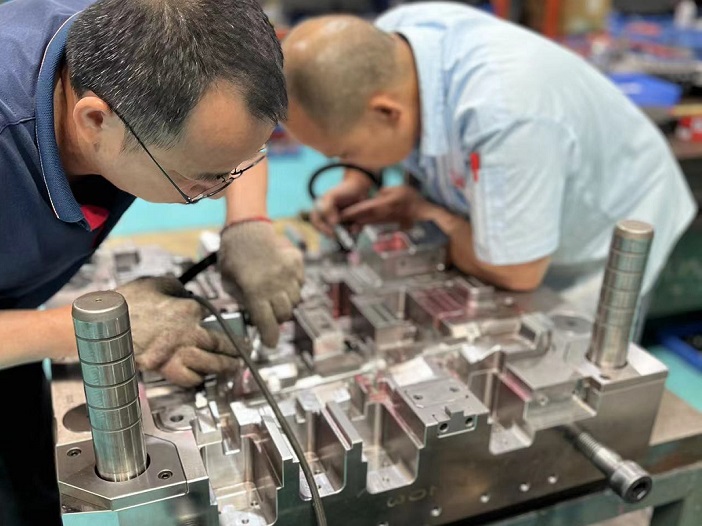
When we talk about mold, it is simply an impression that you want to produce an object with replicated features in a fast & simple manner. It can capture all the details of a component right down to the slightest indentation. Making molds is a complex manufacturing that demands a lot of knowledge and expertise. Despite the fact that every mold is unique, a typical mold can be fabricated going through a consequence of processing that looks like the following 6 steps:

- Step 1: Mold flow analysis and DFM report
Upon tooling kicked off, we will soon begin a preliminary feasibility study of the parts to determine the part lines, gate position, ejection marks, and draft angles etc, so as to assure the molded part has no potential risks to massive production and no collision with the customer’s requirements, including but not limit to the product’s appearance, assembly and functional testing.

- Step 2. Mold design and BOM list
A mold consists of two primary halves, the fixed half of the mold (Cavity half) and the moving half of the mold (Core half). Usually the molded part is designed to reliably remain on the Core half when the mold opens, while the runner and the sprue are drawn out of the Cavity half. Then the molded part can freely fall when ejected from Core half.
BOM is bill of material, which is known as a list that he mold designer gives to the purchasing team. This list determines the cost and quality of the mold, and also indicates the mold designer’s plan for the mold. Most essentially, it clearly state the brand and quantity of specific mold components or inserts that must be prepared, following the customer’s tooling construction specification, especially for exported molds.

- Step 3. CNC and EDM machining
Mold components and inserts are constructed through two main processing methods: CNC and EDM machining. Using our state-of-the-art technologies, the mold design and manufacturing processes are both highly automated and well integrated with each other. The mold’s mechanical dimensions are defined using computer-aided design (CAD) software, and then translated into manufacturing instructions by computer-aided manufacturing (CAM) software.

- Step 4. Mold trial for T1 sample
With the newly created molds ready, we will conduct mold trials to test its performances. More importantly, we will check carefully on the T1 sample with full dimension report. Of course, we will ship certain shots to customer for actual touching and quick assembly with other components of finished product.

- Step 5. Mold turn-in and ECN fulfillment
There is no surprise that our customer may approve the engineering samples from the first mold trial, but it is more often we evaluate the mold design and make necessary modifications in light of our detailed review of the T1 or T2 sample. In some occasions, the client raise ECN request that requires mold change as well.

- Step 6. Mold approval
After a mold is functionally operational and capable of making the part for which it was designed and built to print, we will apply mold approval from customer with a strict validation process, typically with the five components of the molding process—mold, press, tolerances, metrology and accepted variations.

Conclusion
Mold Making, as outlined above, is a very important manufacturing aspect of massive production processes and cannot be taken lightly, as quality part always requires a quality steel mold or tool to generate! The mold is at the heart of the manufacturing process. If properly designed and constructed, a mold will be the key to efficiently producing plastics or metal parts throughout the entire life of the project.
Customers benefit from GEMS’s decades of experience and expertise in modern mold fabrication technology, as well as proven procedures and integrated services with metals and plastics. Ranging from prototyping to low volume high mix to high volume order demand, we offer custom-made tool and mold building services to clients across Europe, Asia and the Americas etc.